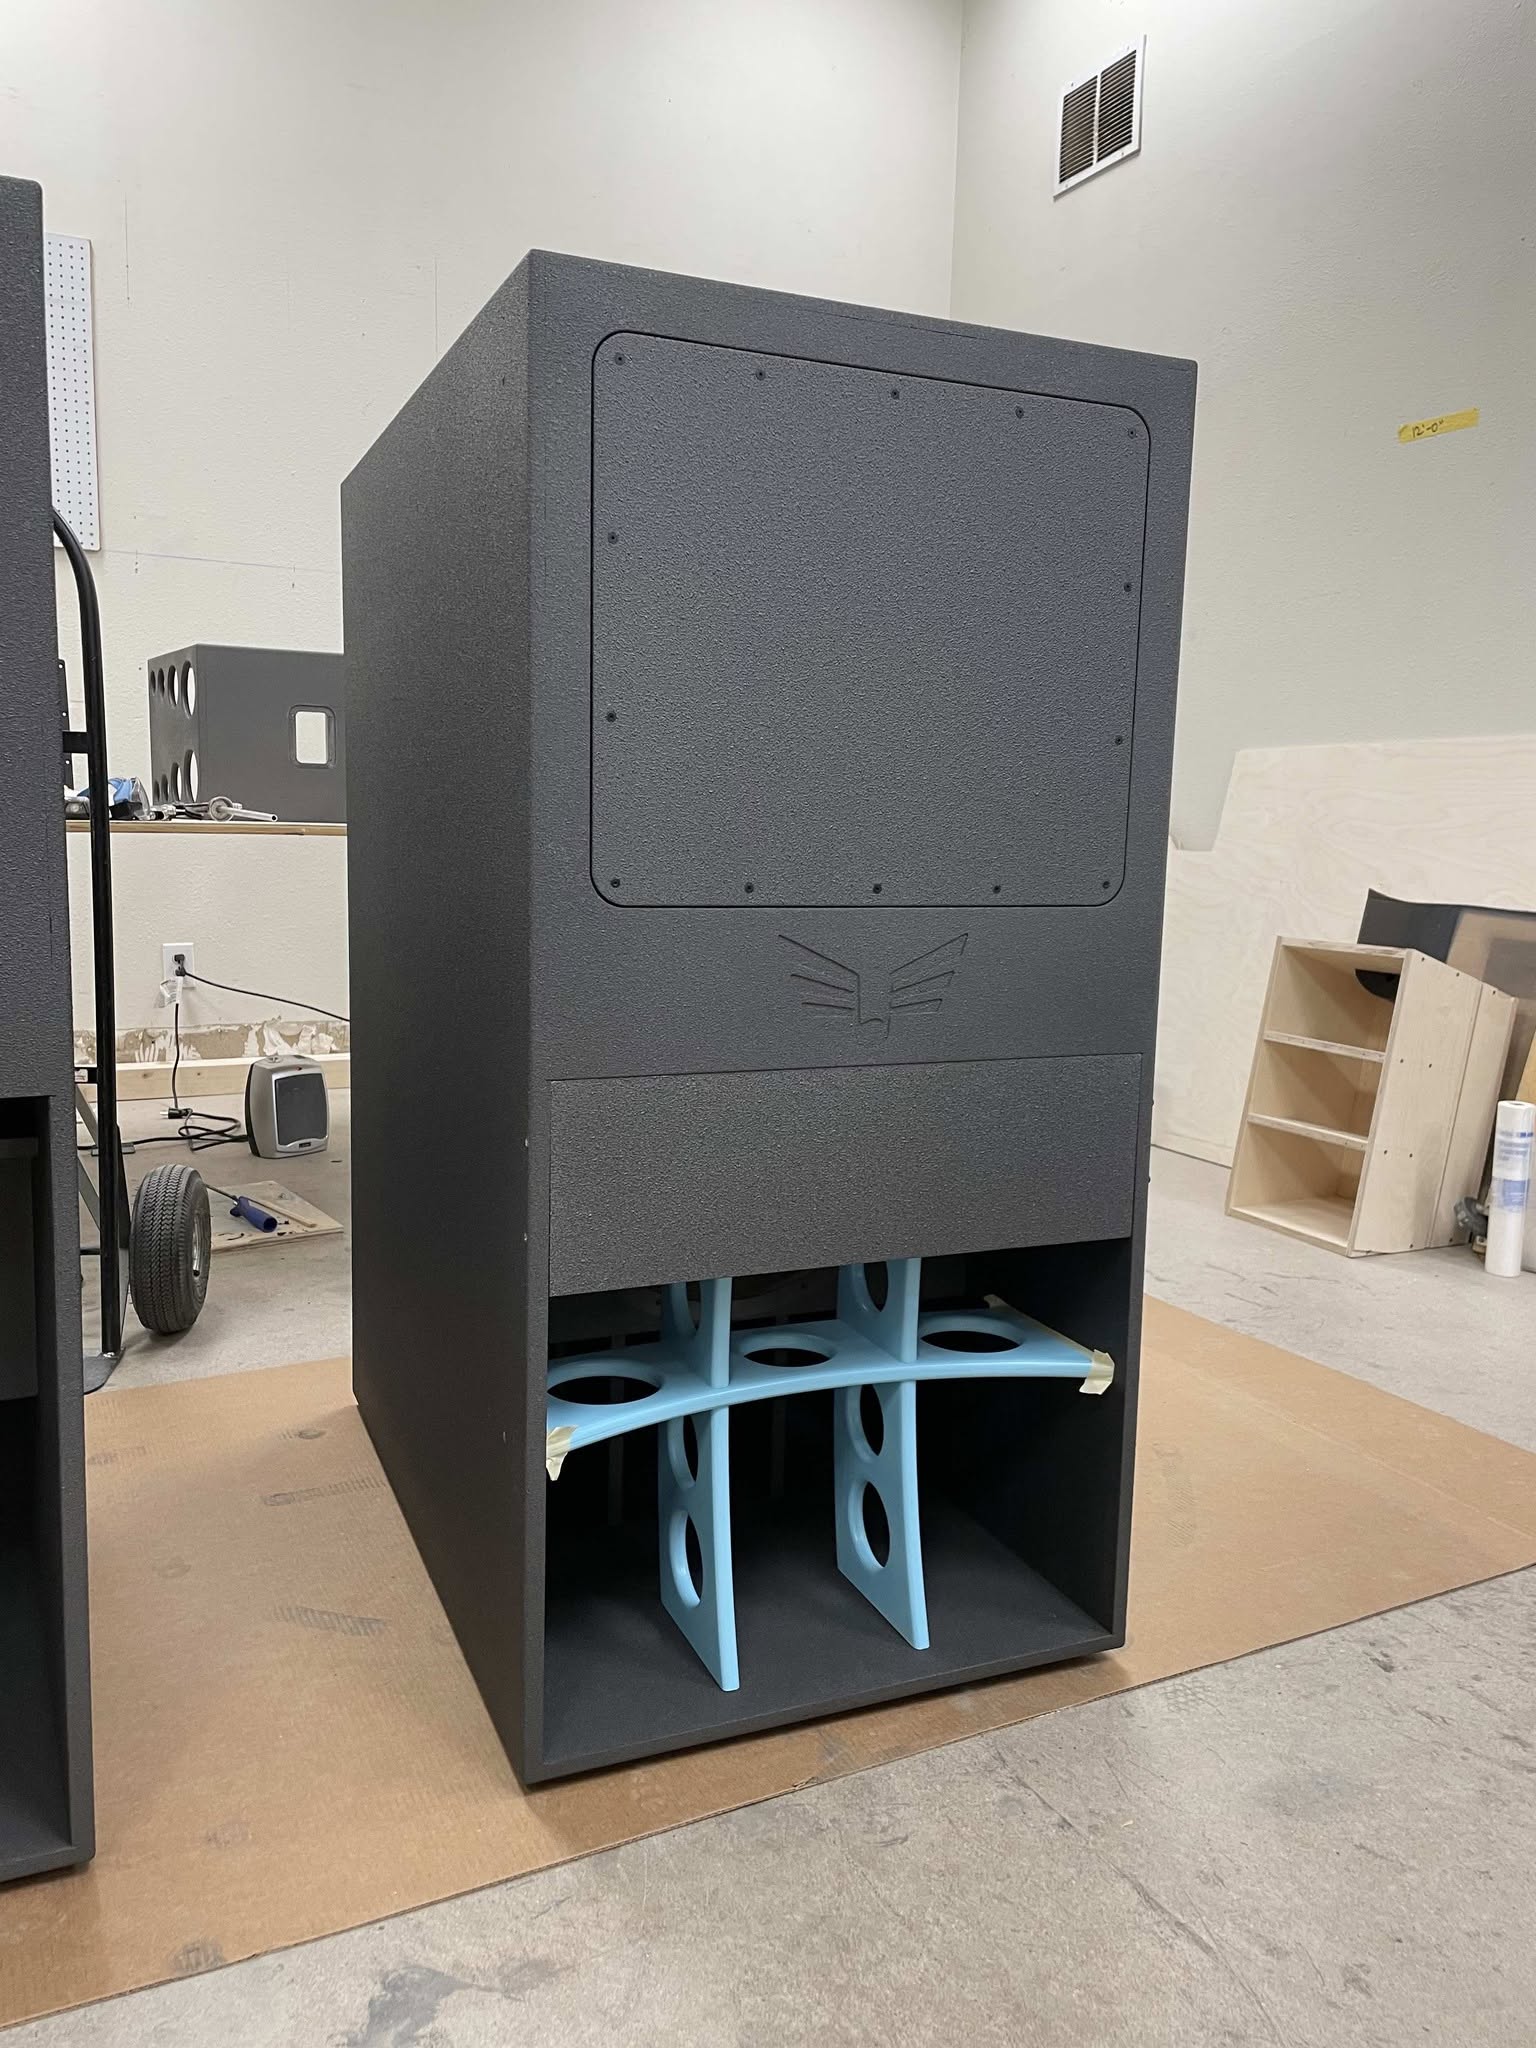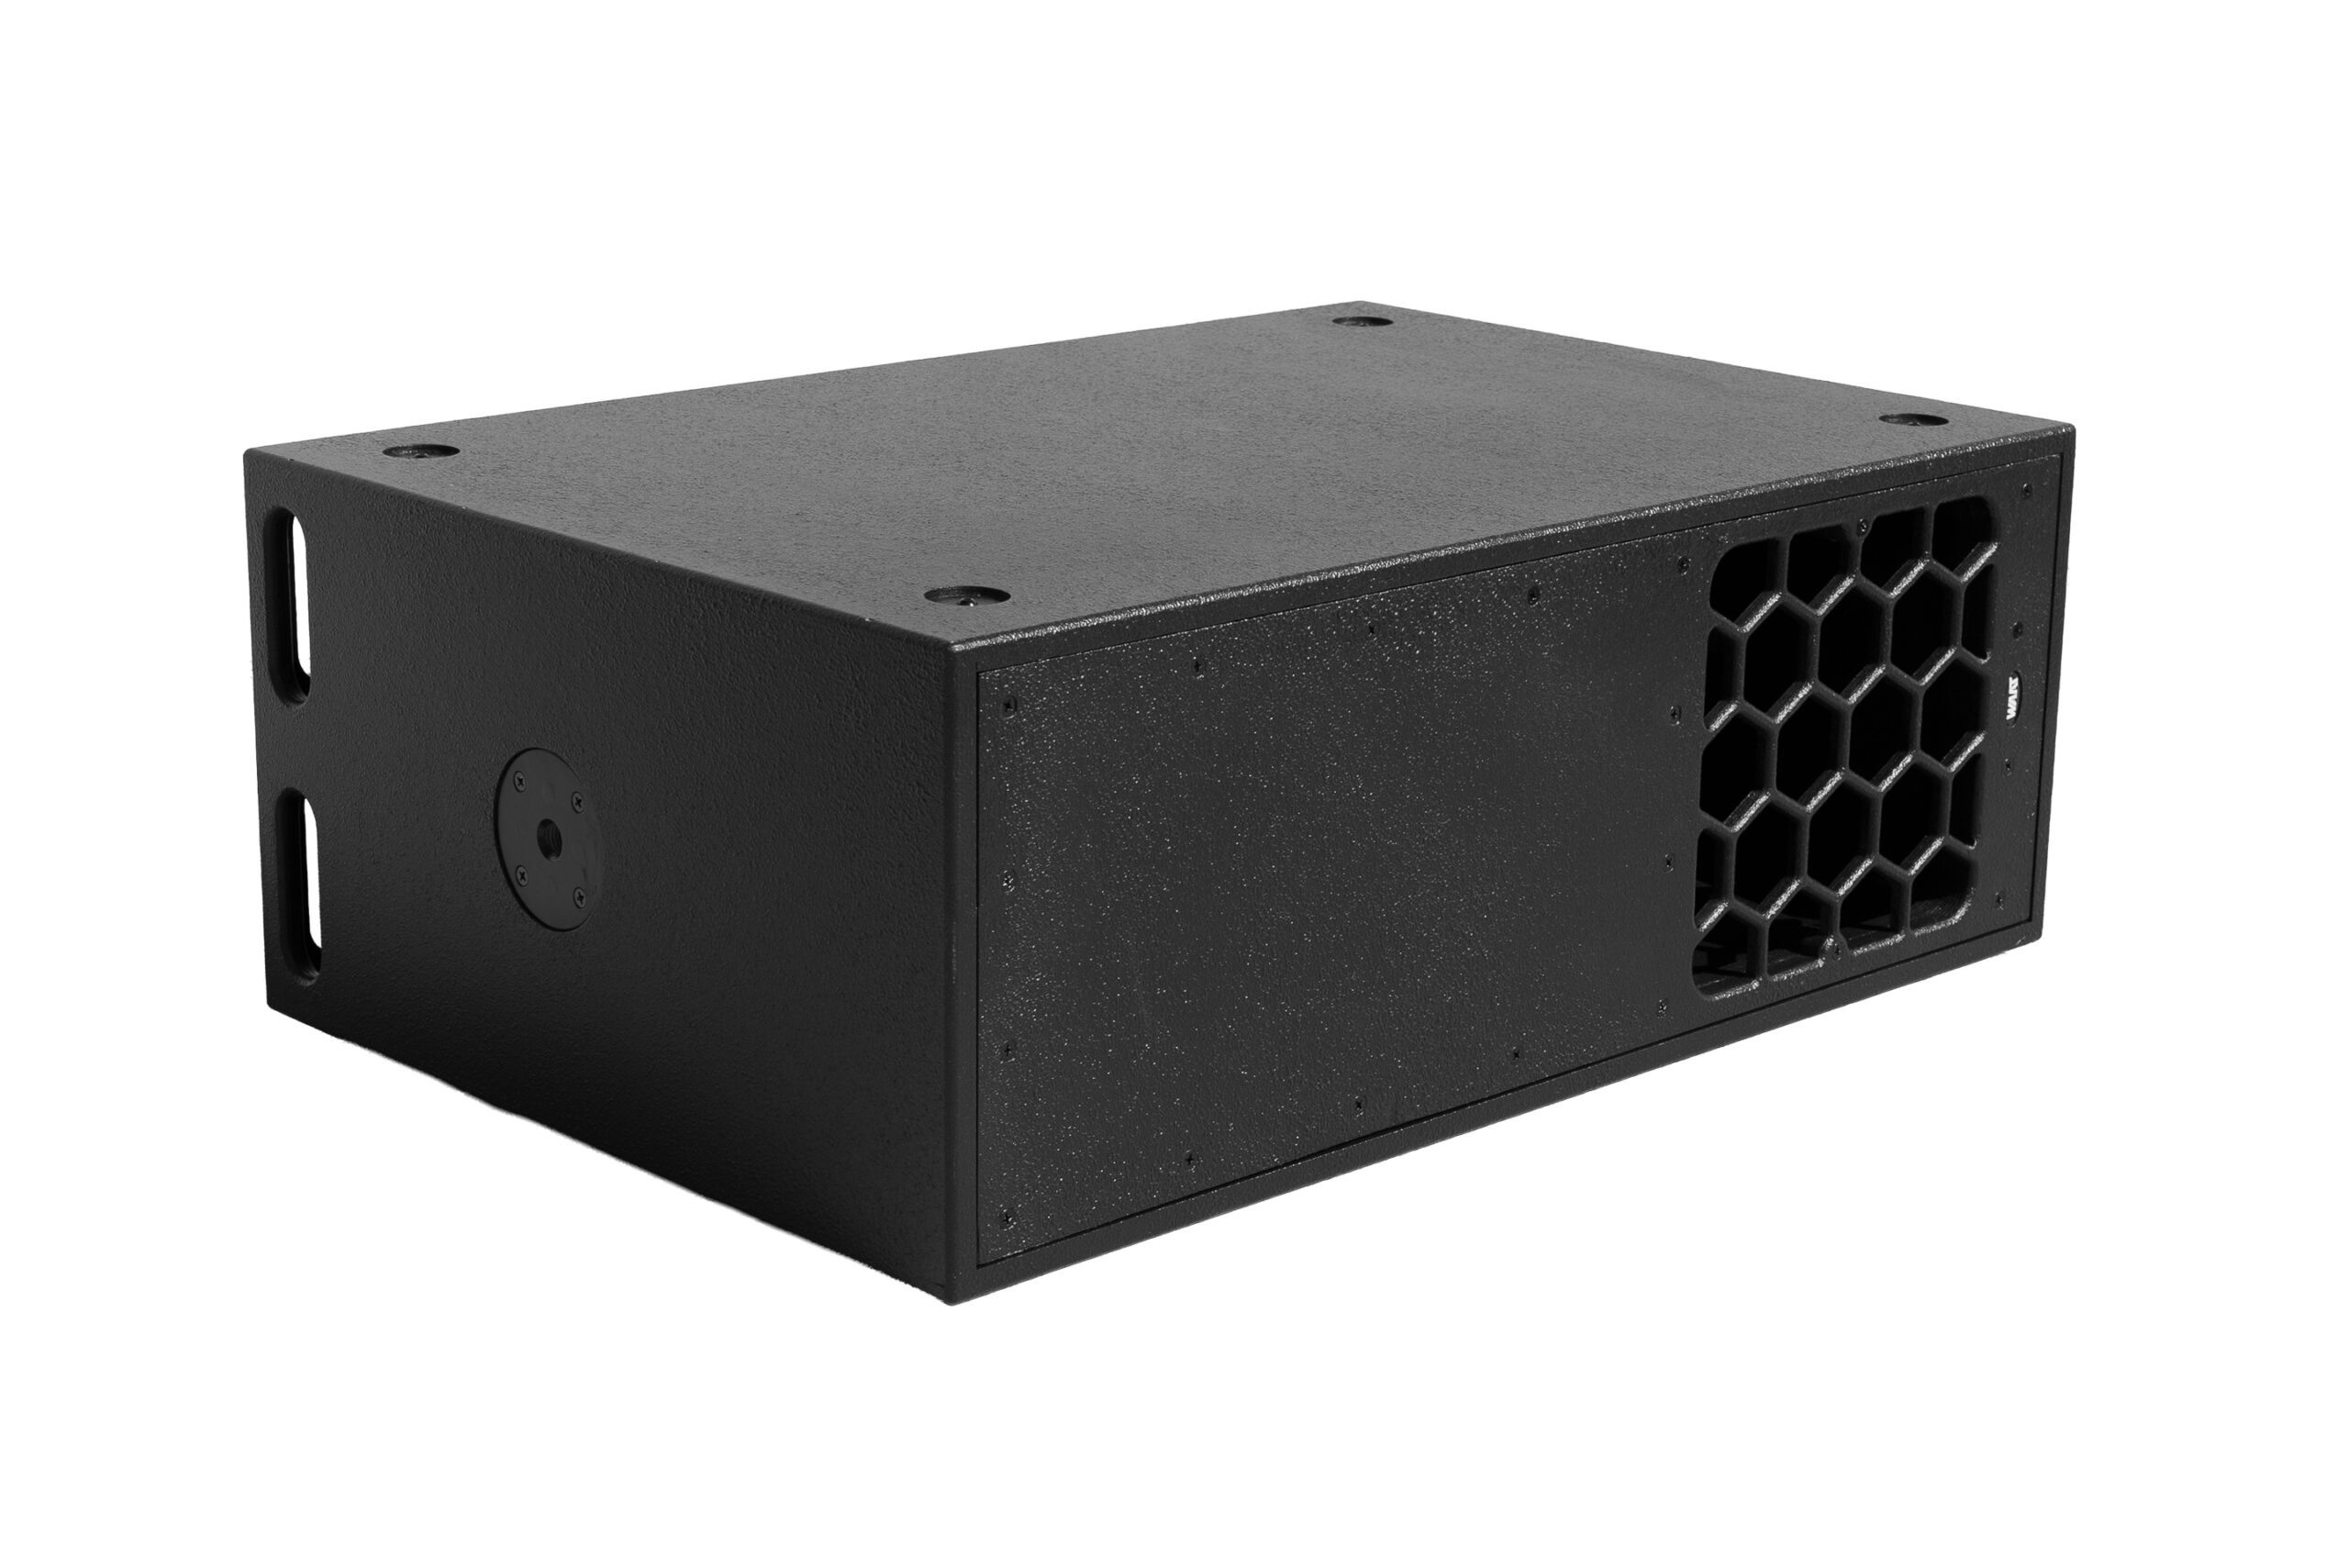
A well-built speaker cabinet can last for decades. Whether it gets there depends on how it’s moved, stored and driven. This guide covers the habits that keep cabinets, drivers and finishes in gig-ready shape, whether you built a WAAT flat-pack kit yourself or bought a finished system.
Know what you’re protecting
WAAT cabinets are CNC-cut from Baltic birch plywood. Our flat-pack kits use premium 13-layer 18mm Baltic birch. Birch ply is strong, stiff and stable, but like any wood it doesn’t love standing water, constant damp, or hard impacts on its corners. The finish, hardware and grills are its first line of defense, so most of this guide is about keeping those in good shape.
On the road
- Use covers or padded bags for transport. They prevent most of the scuffs, dings and chipped corners that happen in trucks and trailers.
- Strap everything down. Cabinets that slide or tip in transit are a common cause of cracked corners and dented grills.
- Never stack weight on grills or baffles. Load cabinets so the heavy, flat sides carry the weight.
- Lift, don’t drag. Use handles and lift with a partner for heavy boxes. Dragging cabinets across concrete or asphalt wears through the finish fast.
- Keep them dry. If cabinets get rained on at an outdoor show, wipe them down and let them air out before closing them up in a trailer.
In storage
- Store indoors, somewhere dry. Avoid places with big swings in temperature and humidity, like un-air-conditioned sheds and trailers in the Florida summer.
- Keep them off bare concrete. Concrete holds moisture. Set cabinets on their feet, on pallets, or on a rubber mat.
- Store them upright, in their normal standing position, with nothing heavy on top.
- Keep them out of direct sun when you can. UV fades and ages finishes over time.
The finish
Rugged coatings like textured cabinet paints and polyurea are tough, but chips and worn spots expose bare wood underneath.
- Touch up chips early. A small dab of matching coating on a chipped corner keeps moisture out of the plywood edge.
- Clean with a damp cloth and mild soap. Skip harsh solvents, which can soften or dull some finishes.
- Watch the edges and corners. That’s where wear shows first. Corner protectors take a lot of abuse so the cabinet doesn’t have to.
Hardware check
Vibration is constant in a working loudspeaker, and over time it can loosen fasteners. A quick check every few gigs prevents rattles and failures.
- Driver screws and bolts: snug them up so drivers seal tightly against the baffle. Snug, not cranked. Over-tightening can crush the wood or crack a driver frame.
- T-nuts and access panels: make sure panels are tight and gaskets are sealing. An air leak in a subwoofer costs output and can whistle or buzz.
- Feet, handles and pole mounts: check that they’re secure before every load-in.
- Jack plates and connectors: look for loose plates or worn connectors. A flaky connection is a show-stopper waiting to happen.
- Grills: straighten dents and make sure they’re firmly attached. A loose grill rattles, and a pushed-in grill can touch a moving cone.
New builds settle. On a freshly assembled cabinet, recheck every fastener after the first couple of gigs.
Protect the drivers
Most blown drivers aren’t caused by the speaker. They’re caused by what’s feeding it.
- Prevent clipping. When any stage in the signal chain is pushed into the red, it sends clipped, flat-topped waveforms that overheat voice coils fast. Keep the mixer out of the red and make up level later in the chain.
- Use a high-pass filter on subs below the cabinet’s tuning, so drivers aren’t flapping uselessly at frequencies the box can’t reproduce.
- Set limiters properly. A peak limiter catches spikes, and a slow RMS limiter controls average heat. Our HOQS resource page walks through exactly how to set both so your subs survive long, loud gigs.
- Turn on in the right order. Sources and mixer first, amps last. Reverse it when shutting down: amps off first. That avoids the loud pop that stresses drivers.
- Inspect cones and surrounds now and then. Look for tears, separation, or a scraping sound when you gently press the cone, and get problems looked at before they get worse.
Cables and amps
- Coil cables over-under, not around your elbow, so they don’t kink or twist.
- Label everything so setup is fast and nothing gets crossed.
- Give amps room to breathe. Keep vents clear and dust them out regularly, because heat is what kills amplifiers.
Quick checklist
Every gig: visual check of grills, connectors, feet and handles. Wipe down after outdoor shows.
Every few gigs: snug driver and panel hardware, check cables, dust the amps.
Every season: touch up finish chips, inspect drivers, review limiter settings.
Need a hand?
Built a WAAT kit and have a question, or want a cabinet looked at? Ask our builders on the Knowledge Base page. Building one yourself? Start with our assembly videos.